Camunda Platform 8 is a scalable, resilient and messaging based process automation system. The main difference between Camunda 7 and 8 is the fact that Camunda Platform 8 is designed as a Software as a Service (SaaS) solution and works as a remote workflow engine, which is based on the open source project zeebe.
Summary
The use cases for Camunda 8 Platform are described here which outlines the following:
- Orchestrate Human Tasks
- Orchestrate, Observe and Analyze Microservices
- Take Control of Your RPA Bots
- Build a Centralized Process Automation Platform
- Modernize Legacy IT Systems
- Replace Homegrown Workflow Solutions
While this article contains code snippets in Kotlin, you don’t need to be a Kotlin developer to be successful. Camunda Platform 8 is supporting other programming languages. Jump forward to see a list of supporting languages & frameworks here.
Camunda Components & Architecture
Here is an overview of all components that exist for Camunda Platform 8. You can click on the links to get more details:
- Modeler – The Modeler is used to design and deploy a BPMN process. There is two different versions. The first one is Web Modeler which is part of the SaaS solution. The second version is the Desktop Modeler. You can image, it’s a desktop application which can be run on Windows, MacOS and Linux.
- Workflow Engine (Zeebe Engine) – Zeebe is the process automation engine powering Camunda Platform 8.
- Console – Create, configure, manage, and monitor clusters for your environments.
- Tasklist – Is a ready-to-use web application that allows users to work on assigned tasks.
- Operate – This tool is created for monitoring and troubleshooting process instances. It provides transparency and real-time visibility to monitor, analyse, and resolve problems.
Optimize – Offers business intelligence tooling for Camunda customers. By leveraging data collected during process execution, you can access reports, share process intelligence, analyse bottlenecks, and examine areas in business processes for improvement.
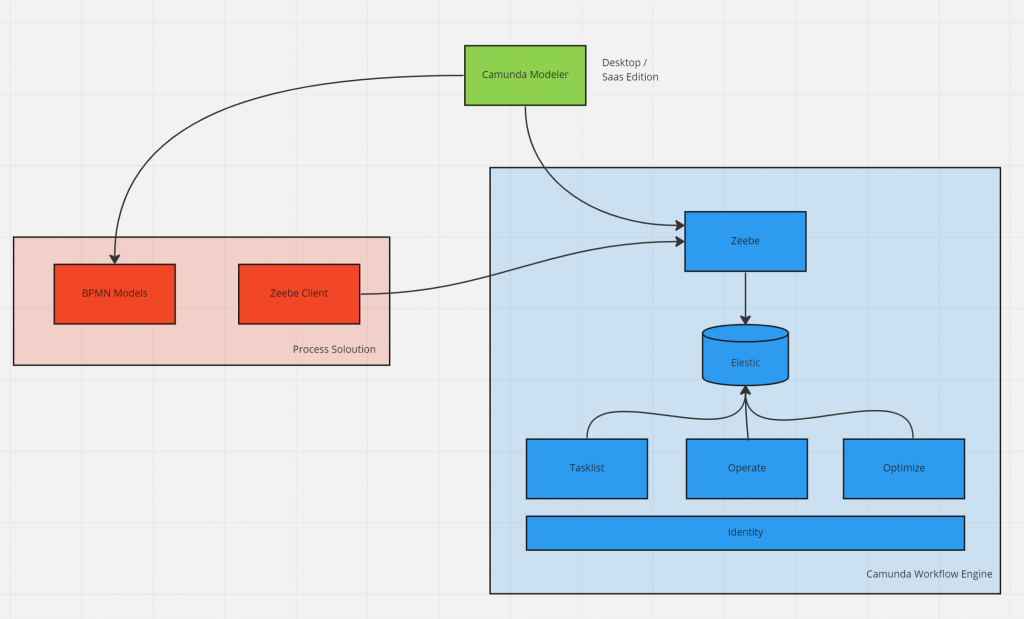
Zeebe clusters are too complex to explain it in this article. At this moment it’s sufficient to know that a cluster handles the scalability of your workflow engine. If you are interested in more details, I recommend you read the following articles:
Zeebe clients
The clients give you the possibility to control your process instances and run your tasks. They are connected to the Camunda Platform via gRPC, which allows to use different languages and frameworks. It’s also possible to create a polyglot architecture, so the choice is yours. Currently, Camunda supports officially these three clients:[MR1] [AH2]
In addition to the official clients there are community clients out there for C#, JavaScript/NodeJS, Micronaut, Python, Ruby, Rust, Spring, Quarkus. Some of them are wrappers around the official clients (e.g. Spring or Micronaut).
You got a really rough introduction into Camunda and learn some technical key facts about it. Now we are able to start our first lab to get a feeling about the interaction between your own code and the workflow engine.
Take advantage of Camunda 8 Platform
Prerequisites
- Java/Kotlin
- Gradle
- IDE (IntelliJ, Eclipse, VSCode, or similar)
Registration
To skip the technical setup and take advantage of the SaaS solution, we start with the registration to the Camunda 8 Platform with the account you can create clusters, deploy process, and create a new instance.
1. Visit camunda.io/signup and view the Sign Up screen:
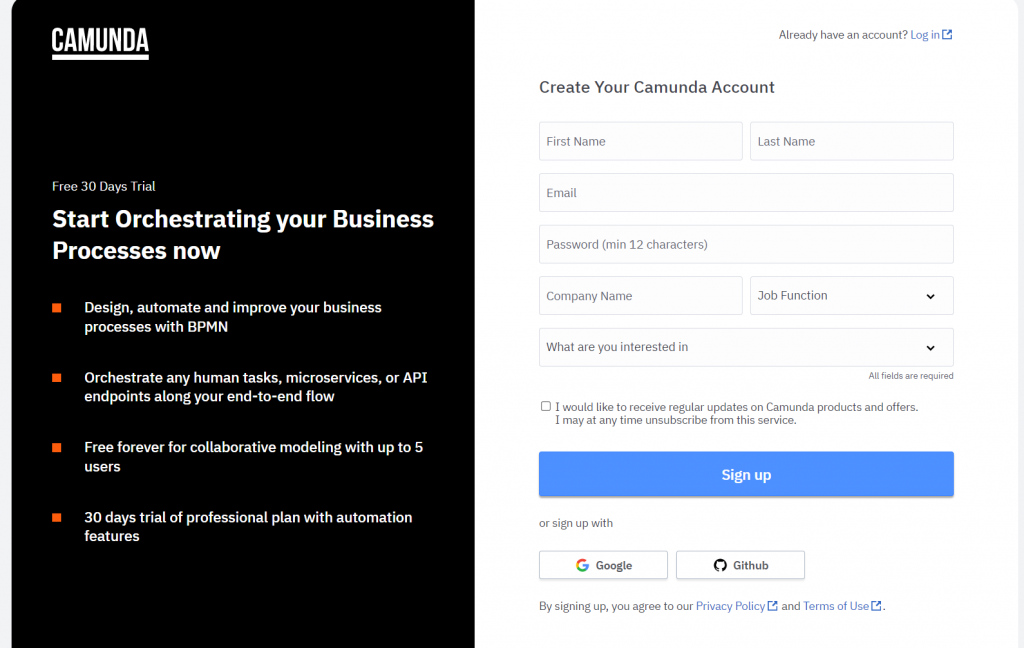
2. Fill out the form and submit. After that you’ll receive a confirmation email. Click on the link to verify your email address and set your password.
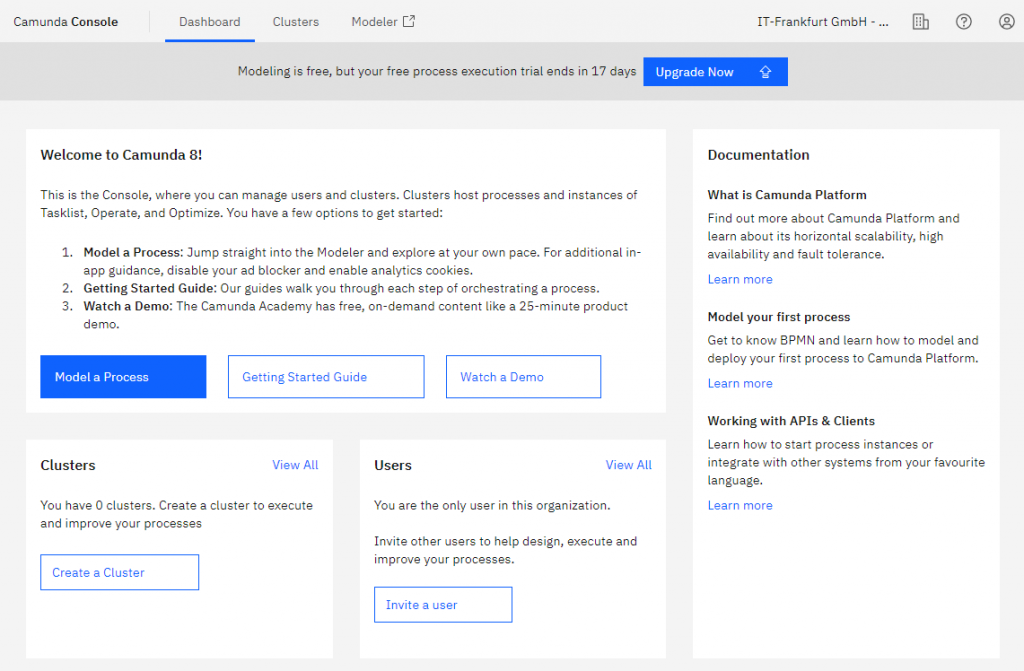
3. After the login, you’ll see the console overview page. This is the central place to manage your clusters, and the diagrams and forms you want to deploy to Camunda Platform 8.
Orchestrate your first BPMN process with Camunda Platform 8
Design and deploy a process
Let’s design and deploy your first BPMN process including a service task. This example will help you to understand how you can start your microservice orchestration.
1. Open the Web Modeler in a new tab by clicking on Modeler in the navigation bar.

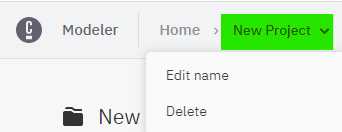
2. Create a New project and select New > BPMN Diagram. You can rename your project and diagram by clicking on the navigation item and select Edit name
3. Give your model a descriptive name and id within the General tab inside the detail panel on the right side of the screen. We’ll use Service-Task-Example for the name and service-task-example for the id.
4. Use the Web Modeler to design a BPMN process with a service task. You can select the Start Event and click on the task icon on the context palette to append a task. Click the wrench icon and select service task to change the task type.
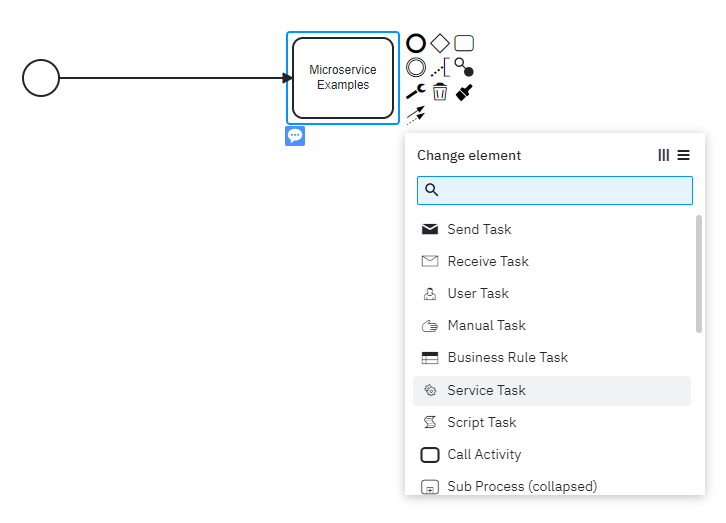
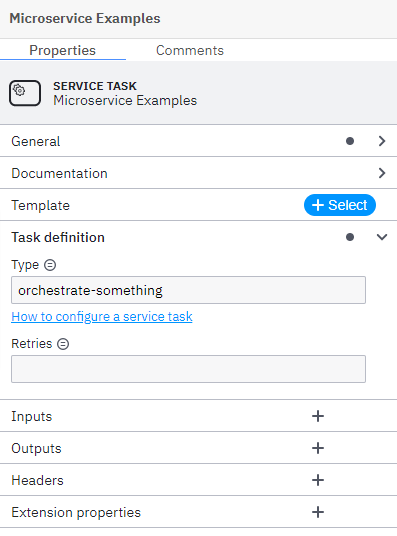
5. Add a descriptive name using the details panel. For this example, we’ll use Microservice Example. After that expand the Task definition section and use orchestrate-something as Type. This value is necessary to connect the service task to the corresponding microservice code.
6. Finish your first model by appending an EndEvent.

7. Deploy your diagram by clicking on the Deploy diagram button. May you need to create a cluster, in this case please follow the instruction in the section Create a cluster and credentials and come back after completion.
8. Start a new process instance by clicking on the Start Instance button.
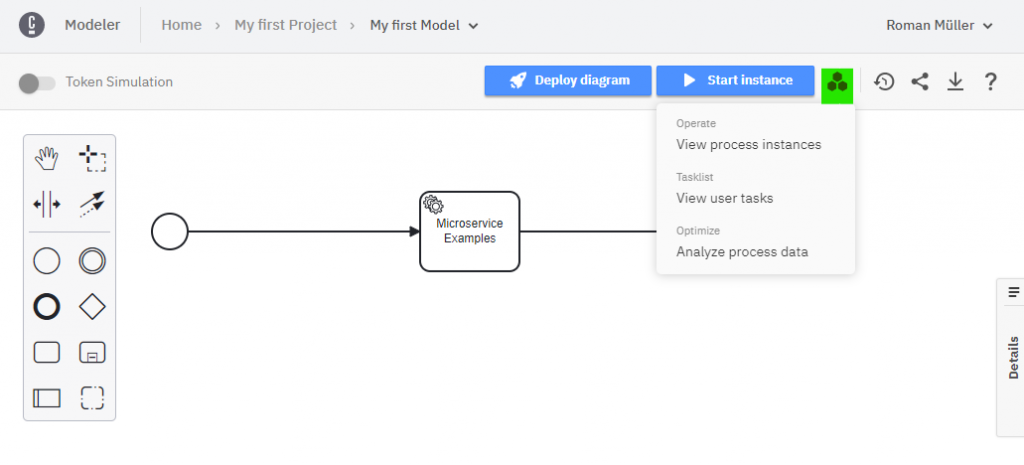
9. Navigate to Operate by clicking on the honeycomb icon > View process instances.
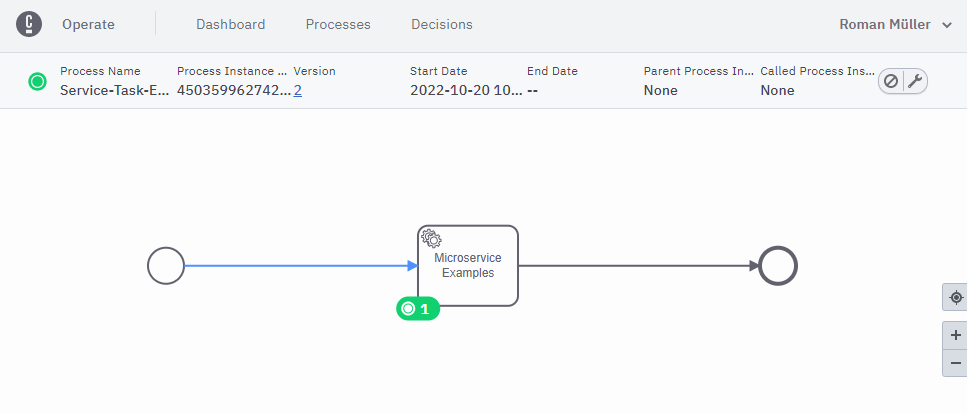
10. You’ll see your process instance with a token waiting at the service task.
Create a cluster and credentials
To deploy and run a process, you need to create a cluster. To connect a worker to a service task you need to create client credentials as well:
1. Create a cluster by clicking on Deploy diagram > create a new cluster. Name your cluster My first Cluster and Create cluster.
2. The creation will take a few moments. Once the cluster is healthy, you’re able to deploy the diagram.
3. Switch back to your other Camunda tab. Navigate to clusters > My first cluster > API and click Create your first Client. Provide a descriptive name for you client like microservice-worker. For this How-To you need to select Zeebe as scope. Copy or download the credentials after client creation. Once you close the window you will not be able to access the generated client secret.
Create a service task
Next, you’ll create a worker for the service task and connect it with your BPMN process you created in the previous section.
1. Create a new Spring-Boot project with Gradle and add implementation(“io.camunda:spring-zeebe-starter:8.0.9”) as dependency to your build.gradle.kts.
2. Add your copied credentials to application.properties
3. Copy the following code snippet to your project:
import io.camunda.zeebe.client.api.response.ActivatedJob
import io.camunda.zeebe.spring.client.EnableZeebeClient
import io.camunda.zeebe.spring.client.annotation.ZeebeWorker
import org.springframework.boot.autoconfigure.SpringBootApplication
import org.springframework.boot.runApplication
@SpringBootApplication
@EnableZeebeClient
class Application {
@ZeebeWorker(type = "orchestrate-something", autoComplete = true)
fun orchestrateSomething(job: ActivatedJob) {
println("Congratulations, you created a worker!")
}
}
fun main(args: Array<String>) {
runApplication<Application>(*args)
}
- The class annotation @EnableZeebeClient loads the necessary Zeebe client configuration for spring.
- The method annotation @ZeebeWorker(type = “orchestrate-something”, autoComplete = true) defines a worker, which requests jobs on a regular interval for the task orchestrate-something.
4. Now you can run the application. You should see the message Congratulations, you created a worker! in your output stream.
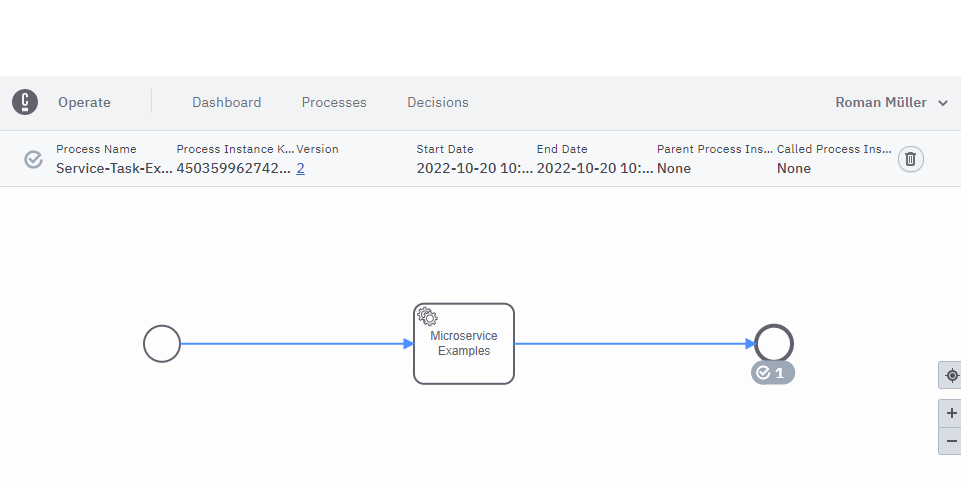
5. Navigate to Operate, and you’ll see your token has moved to the end event, completing this process instance.
Congratulations! You successfully design, deploy and orchestrate your first BPMN process with Camunda Platform 8.
Read more Insights on Software Product Engineering

